Listing Targets
Before an action can point at a target, the panel needs to know it. Listing (scanning) asks the HUD to look around and report every target it finds.
Scan
Rez the targets (or wear them) in the same region as the HUD.
In the panel, click Targets in the header. The Targets Manager opens.
Click Search for targets and wait a few seconds.
The list fills with every object in the region that has
*TARGETSand belongs to you, with its name, number of prims and how many actions use it.
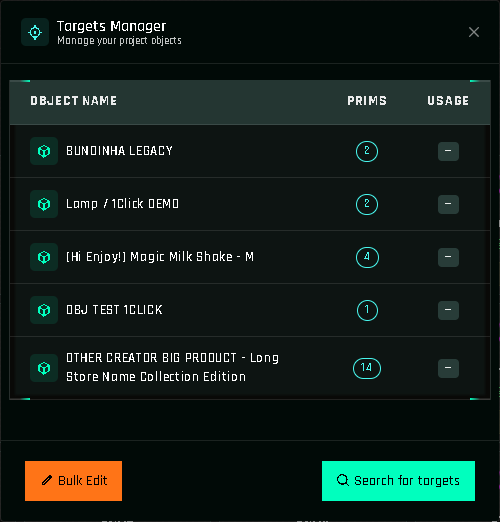
The scan also collects each target's link names. That is what the Link Names field in actions is built from.
When to scan again
- You added or renamed prims in a target.
- You created a new target or re-created one with NEW.
Scanning again does not break existing actions: actions store the target's identity, not its position in the list. A target that is not rezzed during the scan but is still used by some action stays in the list, marked not found in the last scan. Targets nobody uses disappear from the list.
Tips
- Every target you own in the region is listed, including unrelated products. Take the ones you are not working on back to inventory before scanning.
- Objects with the same name are hard to tell apart in dropdowns. Give each product a distinct name before scanning.
- A target you no longer need in a project can be replaced everywhere with Bulk Edit.
Targets from other creators
If you configured a target and then sold it, or you bought a product made with 1Click Maker, the target keeps working for its new owner. It will not appear in your scans anymore, because it is no longer yours.