Synchronizing Targets
You sell the same shirt rigged for Legacy, Maitreya, Reborn and three more bodies. You do not want to configure six targets and six sets of actions. SYNC solves it: configure one shirt, then make the others listen on the same channel.
How to sync
Set up the first shirt normally: create the target with NEW, scan it in the panel, build all the actions, test.
Rez the other shirts on the ground, within 5 meters of the first one.
Drag
*TARGETSinto each of them. When the menu appears, choose SYNC.The script scans a 5 m radius for objects that belong to you and contain
*TARGETS, and lists them by number.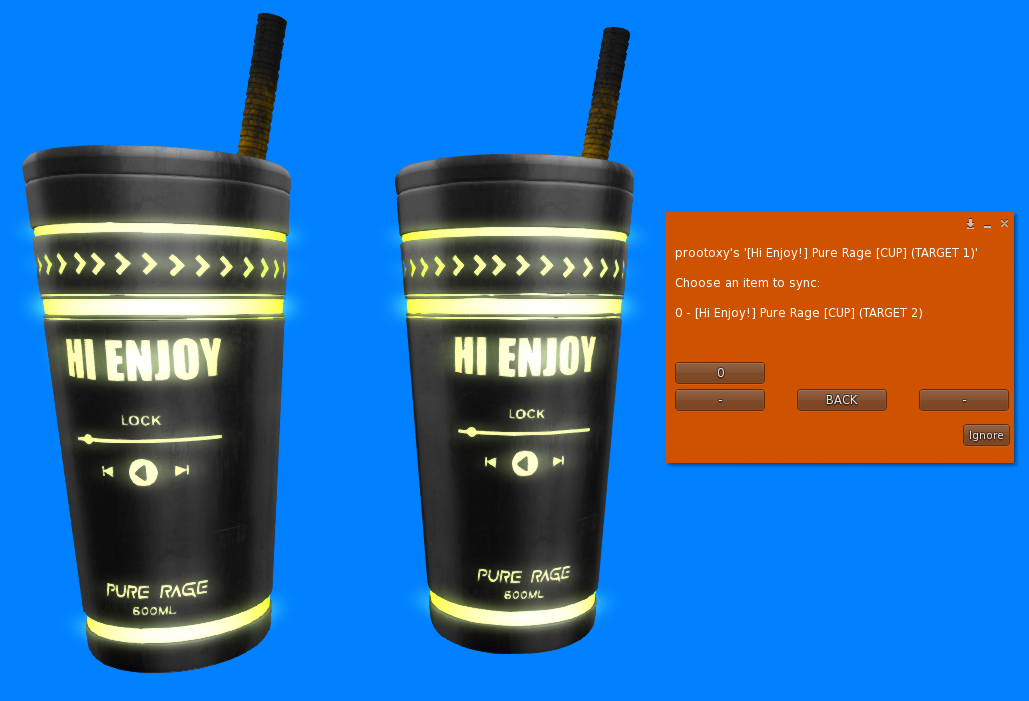
Pick the number of the object to sync with. Click the number of the first shirt. Done: the new shirt now answers the same HUD commands.
Repeat for every copy. There is no limit on how many objects share a channel.
Requirements for perfect results
- Objects should have the same link names and the same face layout. Since version 1.2.0 actions target prims by link name, so the link order may differ, but the names must exist. If a synced copy has no prim with the requested name, that copy simply does nothing for that action.
- Keep the scan distance in mind: 5 meters between the object being synced and the reference object.
- Only your own objects are listed.
What syncing does not do
- It does not copy textures or settings between objects. It only shares the channel.
- It does not link the objects to the same project. Only one HUD project exists; the shirts are interchangeable receivers.
Typical uses
- One HUD for every body version of a garment.
- Left and right versions of an accessory (earrings, bracelets).
- A set of furniture that changes texture together.
Un-syncing
Drop *TARGETS again and choose NEW; the object gets its own channel. Then scan targets in the panel and reassign actions, or use Bulk Edit.