Creating a Color Picker
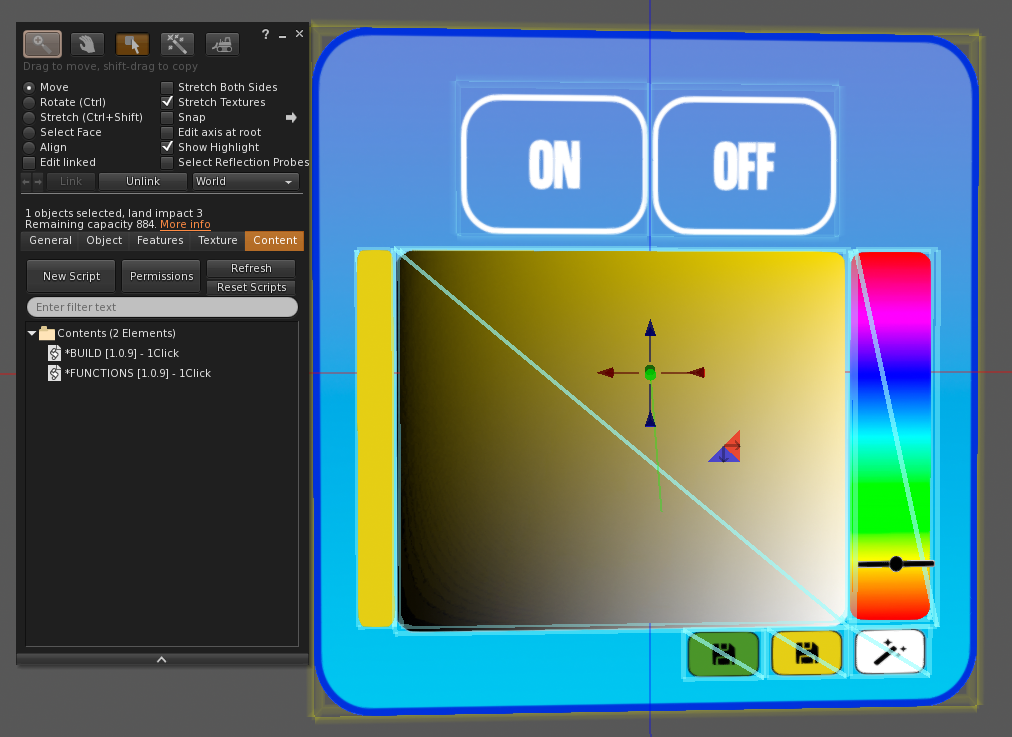
Rez the object Color Picker V* from your 1Click Maker folder on the ground.
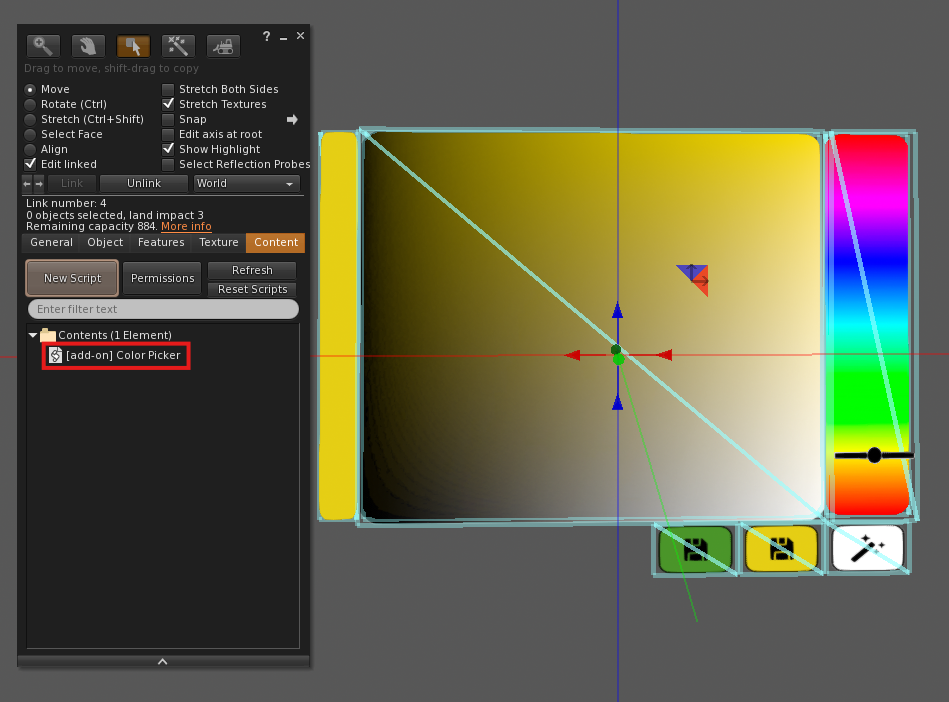
Check its Content. The script
[add-on] - Color Picker - 1Clickmust be inside the picker object (it ships with it). Do not move it to the HUD's root.Link the picker to your HUD (HUD root selected last, Ctrl+L) and position it where you want it in the design. You can resize it freely.
In the panel, Re-scan the buttons. The picker shows up in the left column with a palette icon.
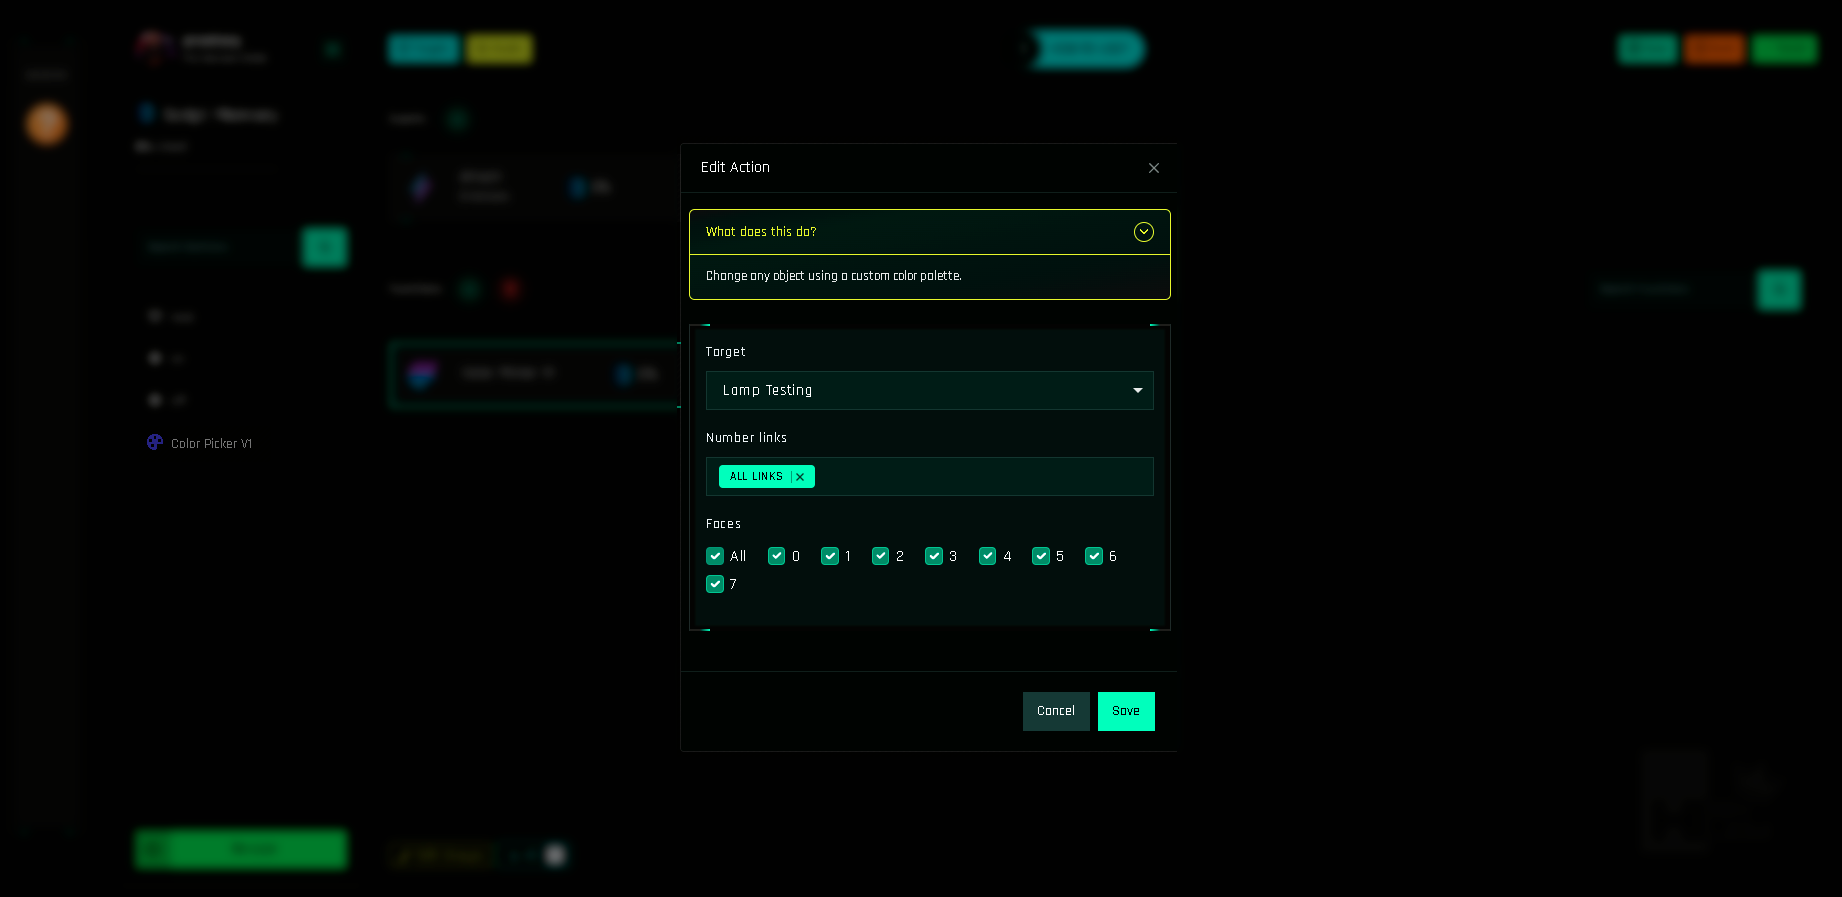
Click it. Its function opens with a special form instead of the action grid.
Add a target configuration: choose the Target, the Link Names and the Faces the picker should tint. Click Add Target to control more objects or parts with the same picker.
Save and Build. Wear a copy of the HUD and the target and try it.
Using it in-world (what your customers see)
- Click anywhere on the palette to apply that color.
- Click the HEX area to type a code.
- Click a save slot while holding a color to store it; click it later to reapply.
Rules
- Do not change the description of the picker object (
type:color_picker). The panel would stop recognizing it. - Keep the add-on inside the picker prim, not loose in the HUD's Content.
- Several pickers in one HUD are fine: each has its own targets.
- The picker changes color only. Textures, glow and transparency are separate actions.
- Color Picker actions cost 100 memory units per picker.
Combining with buttons
A common layout: texture buttons on the left, a picker on the right, and a reset button with a Color action set to <1,1,1> (white) so customers can go back to the original texture colors.